Many drivers fall into one of two categories:
They either deep-clean their car a few times a year, or they never clean it at all.
Neither approach works particularly well.
The secret to keeping a car interior looking fresh isn’t spending hours detailing every weekend. It’s following a simple routine that takes about 45 minutes and keeps the interior looking clean for four to six weeks.
Here’s the process that actually works.
What You’ll Need
You don’t need a garage full of detailing products.
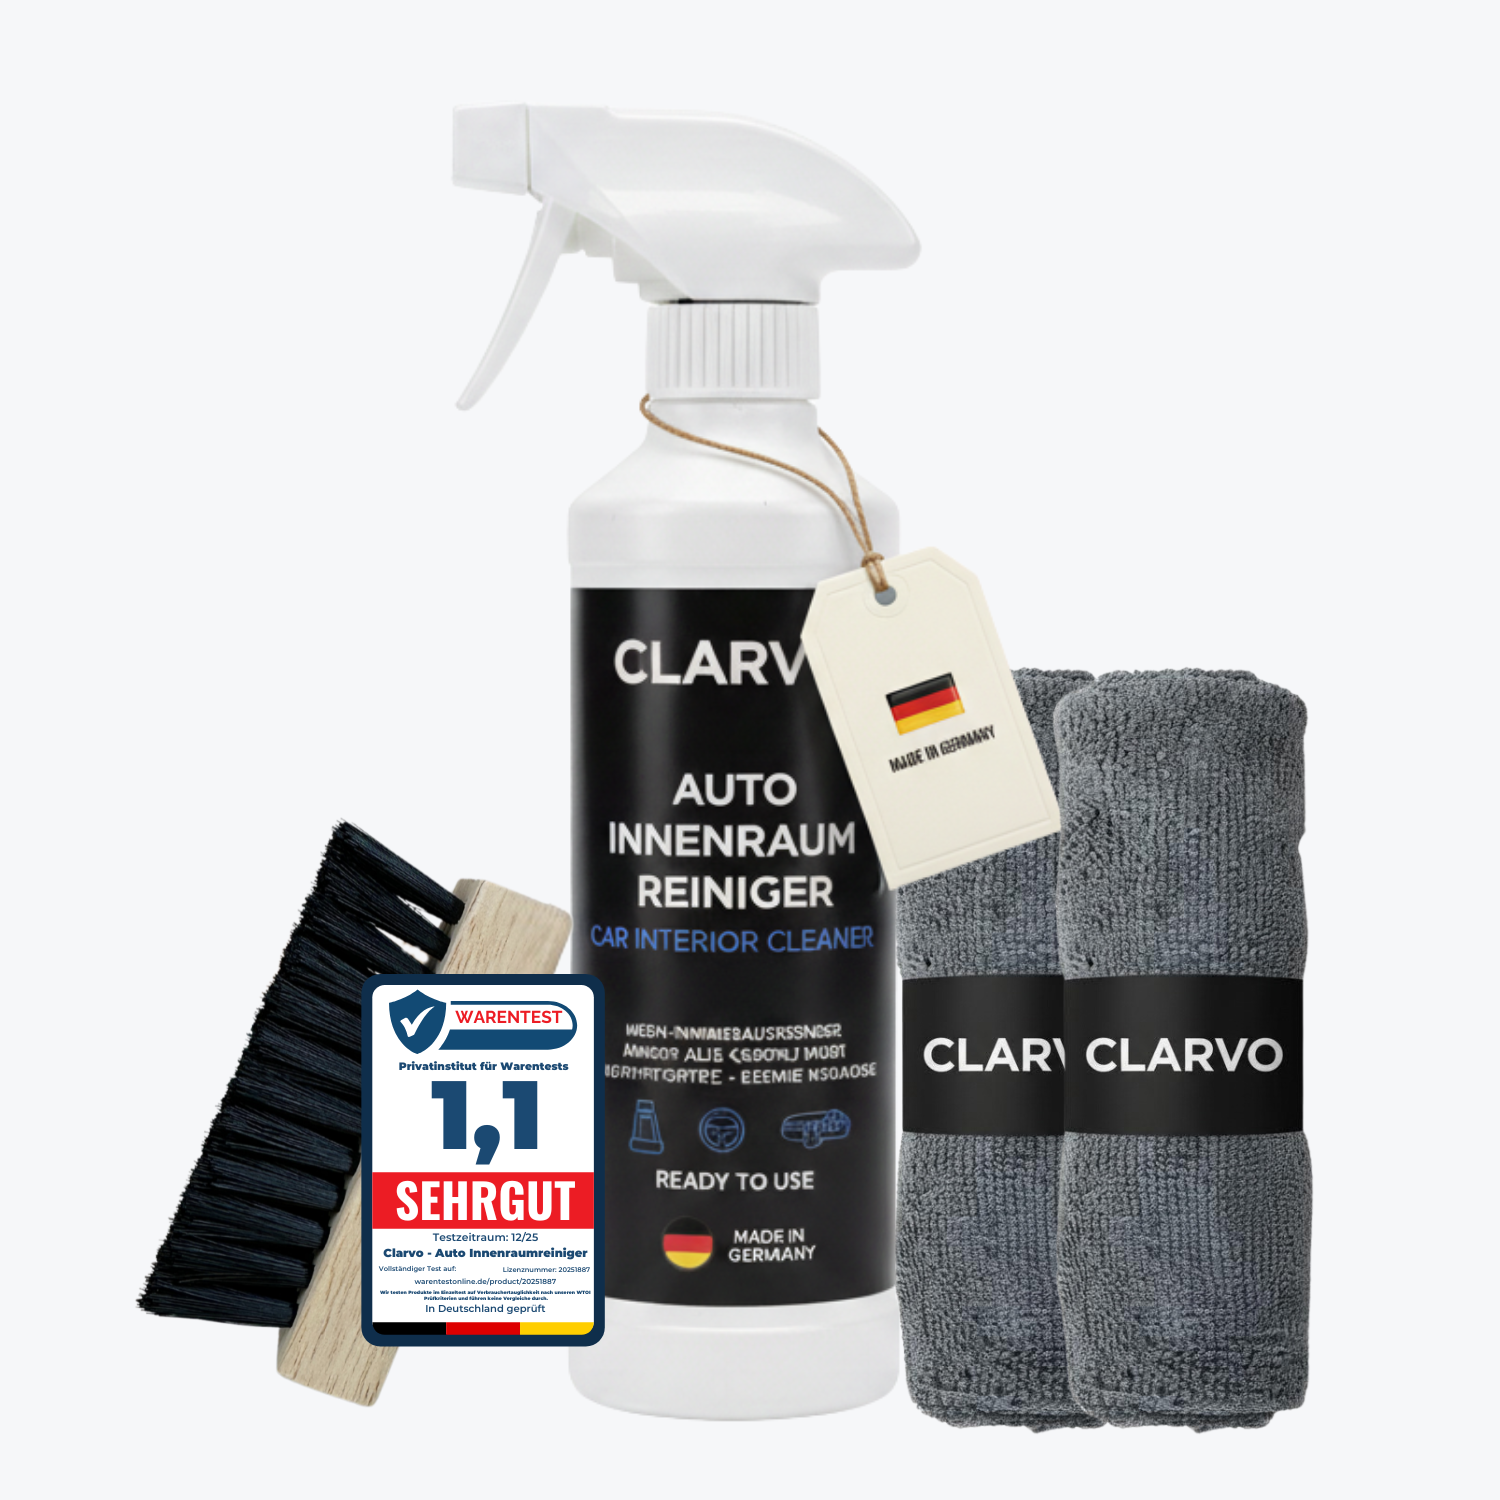
For a complete interior cleaning session, you’ll need:
- A pH-neutral interior cleaner
- Two microfiber towels (one for cleaning, one for drying and buffing)
- A detailing brush for vents, seams and tight spaces
- A vacuum cleaner with a crevice attachment
That’s it.
Unless you’re dealing with excessive sand, pet hair or unusual contamination, specialty products are rarely necessary.
The Golden Rule: Work From Top to Bottom
Gravity is always working against you.
Dust and debris naturally fall downward, so cleaning the upper areas first prevents you from having to repeat work later.
A second rule is just as important:
Vacuum before using any cleaner.
Trying to wipe dusty surfaces with a damp cloth usually turns loose dust into streaky residue.
Step 1: Remove Loose Dust and Debris (5 Minutes)
Open all doors and begin with dry cleaning.
Use a detailing brush to loosen dust from:
- Air vents
- Seat seams
- Cup holders
- Storage compartments
- Gaps between seats and the center console
Then vacuum the entire interior thoroughly.
Pay special attention to:
- Carpet edges
- Seat tracks
- Door pockets
- Floor mats
Removing loose dirt first makes every following step easier.
Step 2: Clean the Dashboard and Door Panels (15 Minutes)
Instead of spraying cleaner directly onto interior surfaces, spray it onto your microfiber towel.
This gives you better control and prevents liquid from reaching sensitive electronics.
Work in this order:
- Sun visors and overhead trim
- A-pillars
- Dashboard
- Steering wheel
- Door panels
- Center console
Use slow, overlapping movements rather than quick wiping motions.
After each section, follow up with a second dry microfiber towel to remove any remaining moisture and prevent streaks.
Don’t Forget the Steering Wheel
The steering wheel is one of the most frequently touched surfaces in the vehicle.
It accumulates:
- Skin oils
- Sunscreen residue
- Sweat
- Dirt from everyday use
Cleaning it regularly improves both appearance and grip.
For leather steering wheels, use only mild pH-neutral products.
Step 3: Clean the Seats (10 Minutes)
Fabric Seats
Lightly spray cleaner onto the surface.
Work it into the fabric using a soft brush, then wipe away loosened dirt with a microfiber towel.
For stubborn stains:
- Apply cleaner.
- Allow it to sit for several minutes.
- Agitate gently.
- Wipe clean.
Leather Seats
Leather requires a gentler approach.
Use a pH-neutral cleaner on a microfiber towel rather than spraying directly onto the leather.
Wipe using light circular motions and immediately buff with a dry towel.
Avoid aggressive all-purpose cleaners, which may dry out or damage leather finishes over time.
Step 4: Vacuum and Clean Floor Mats (10 Minutes)
Remove floor mats from the vehicle before cleaning.
Start by vacuuming:
- The mats
- The carpet underneath
- Seat rails and surrounding areas
Carpet Mats
Vacuum thoroughly, apply cleaner where needed and gently agitate with a brush.
Rubber Mats
Simply rinse, scrub if necessary and allow them to dry before reinstalling.
Many interior odors actually originate from dirty floor mats, so don’t skip this step.
Step 5: Clean Interior Glass (5 Minutes)
Interior glass often develops a stubborn film caused by:
- Plastic outgassing
- Fingerprints
- Skin oils
- Smoke residue
This film is often more difficult to remove than dirt on the outside of the glass.
For best results:
- Use one slightly damp microfiber towel.
- Use a second dry microfiber towel.
- Wipe horizontally with the damp towel.
- Buff vertically with the dry towel.
This method makes it easy to identify and remove any remaining streaks.
Common Interior Cleaning Mistakes
Spraying Cleaner Directly Onto Electronics
Always spray onto the microfiber towel instead.
This helps protect displays, buttons and sensitive controls.
Using All-Purpose Cleaner on Leather
Many all-purpose cleaners are too aggressive for leather surfaces and may contribute to drying or cracking over time.
Using Ammonia-Based Glass Cleaners
These products can damage window tint films and may leave residue on interior surfaces.
Skipping the Vacuuming Step
Dust should be removed before introducing moisture.
Otherwise, you’ll simply spread contamination around the interior.
How Often Should You Clean Your Car Interior?
For a daily-driven vehicle:
Full Interior Cleaning
Every 4–6 weeks.
Quick Maintenance Cleaning
Once per week.
A quick maintenance session usually takes less than ten minutes:
- Wipe the dashboard
- Vacuum visible debris
- Clean fingerprints from screens
For vehicles that are driven only occasionally, a full cleaning every few months is often sufficient.
Building a Simple Interior Cleaning Kit
The best cleaning routine is the one you’ll actually use.
Rather than collecting dozens of specialized products, most drivers only need:
- A quality interior cleaner
- Two microfiber towels
- A detailing brush
- A vacuum cleaner
Those four tools can handle the vast majority of interior cleaning tasks while keeping the process simple, fast and effective.
A clean car interior doesn’t require professional detailing skills—just the right order, the right tools and a consistent routine.